Your Cart is Empty
Shop


Resources


Installation manuals
Still have questions?
documents
-
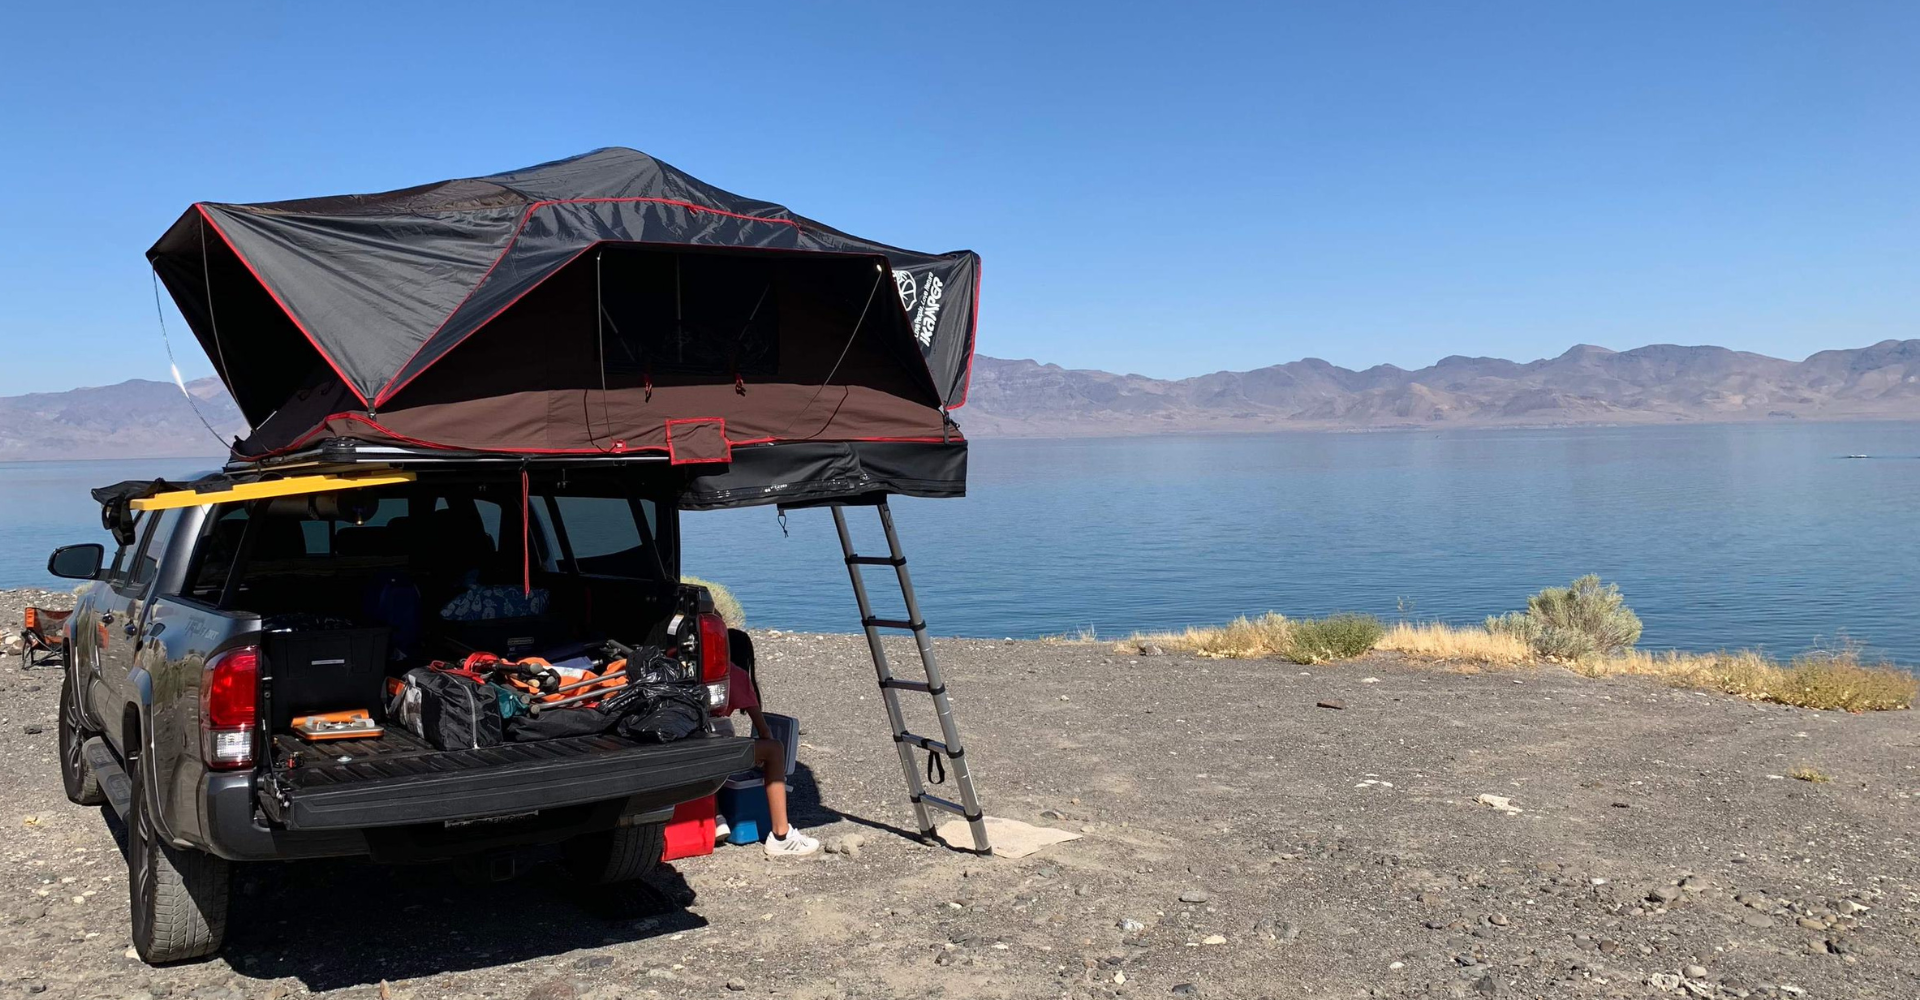
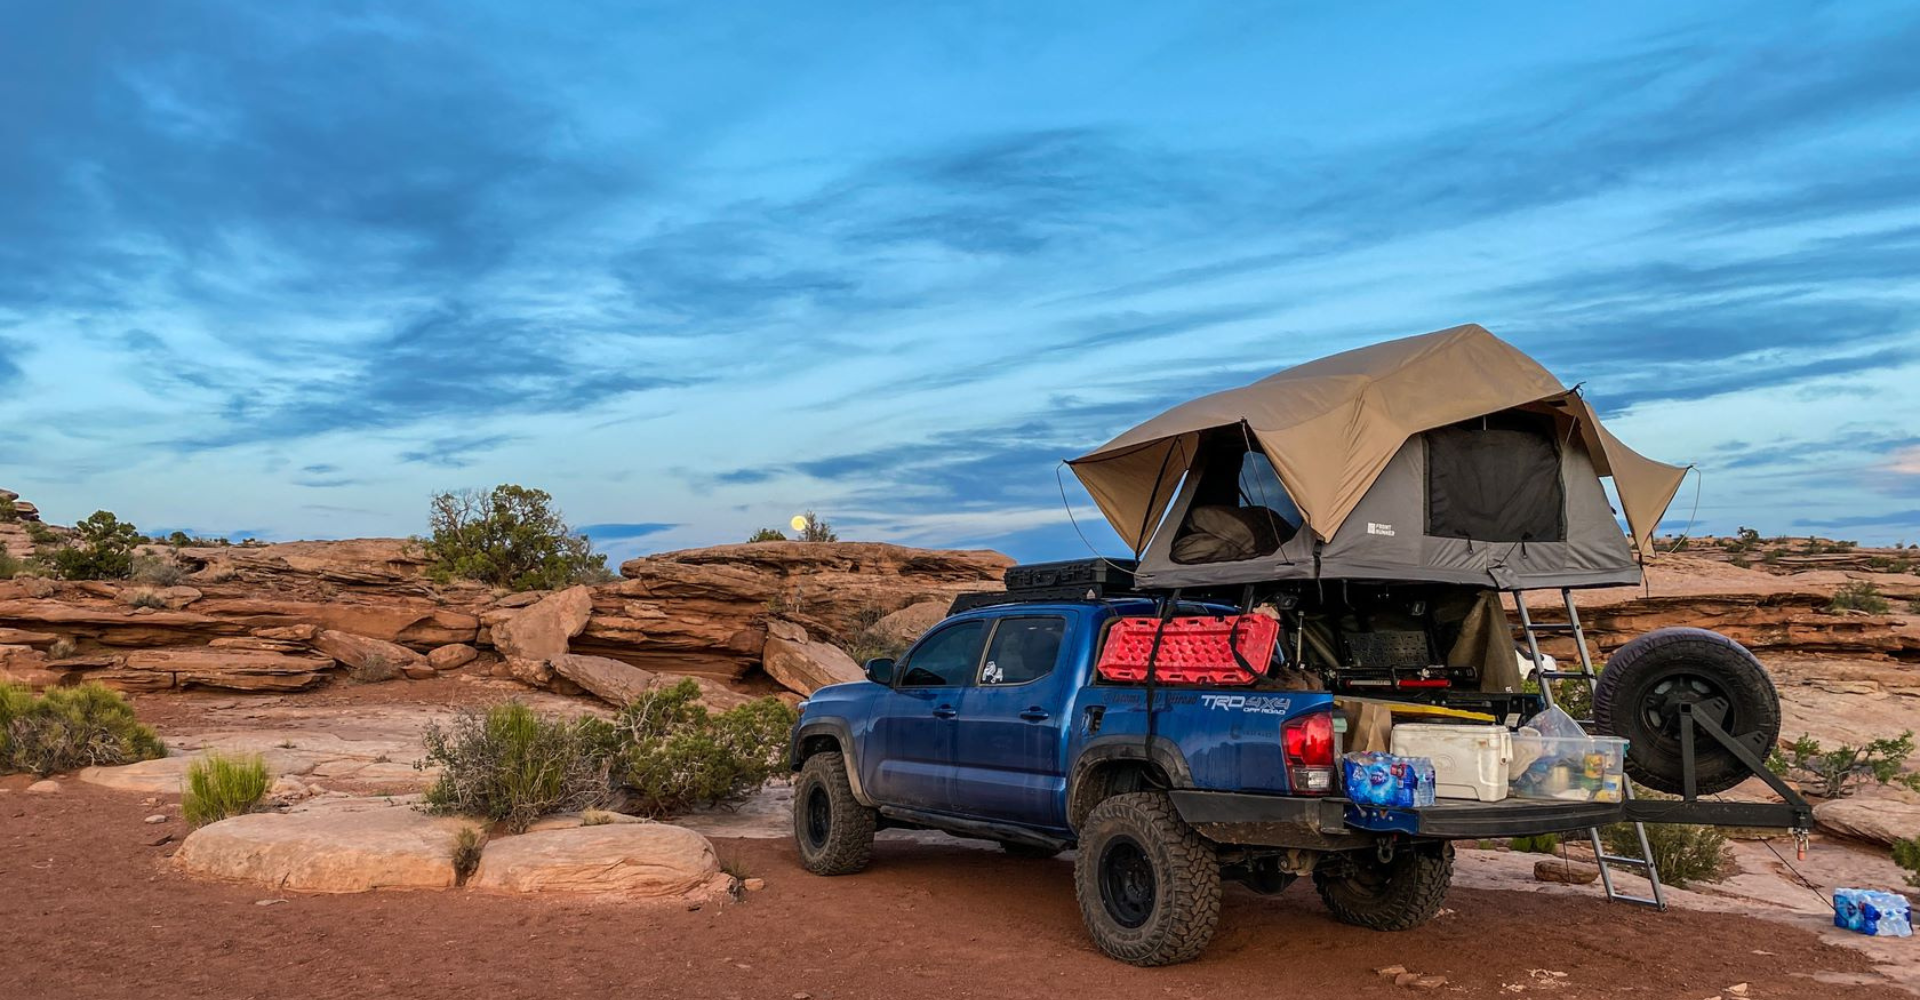
“ROCK-IT" Overlanding Rack System Installation Procedure
- Difficulty: Easy / Beginner
- Tools required: 9/16” ratcheting wrench or socket, tape measure, ½" wrench for Retrax/Roll-N-Lock application.
- Time for install: 1.5 hours
- Coating: Unit comes powder coated. We carry color-matched touchups for years of great looks!
- Install video: Available on our YouTube Channel
- youtube.com/@heavymetaloff-road/videos
Your kit will have the following:
- Pillars (these are the main uprights)
- Cross bars (connects pillars from one side to another)
- Runners (overhead pieces without logo that connect)
- Side bars (except 12” tall units. Looks like runners, but include “HMOR” logo)
- Molle panels (accessory panels to mount gear)
- Rack assembly hardware (main structure)
- Attachment hardware (to secure to vehicle)
Too Long, Didn’t Read Version – Assemble like the picture looks. Install all bolts horizontally. 24 bolts must be installed for strength when connecting pillars to cross bars. Line up panels, bars, and bolts to look pretty from the back. Check tightness occasionally. Tag us and have fun!
If attaching to vehicle with T-Slot rail or Utili-Track
There are several ways of assembling your rack: on the ground fully, on the ground partial, or on the truck fully. We suggest for most people the on-the-ground partial method, as explained here:
- Lay out pieces and hardware. Double check to make sure all parts are accounted for. Assembly and Install hardware will be separately packaged.
- Clear your bed rails of any mounted accessories or tie-downs that may be in the way of the bars or installation hardware.
- Remove any factory rail end caps.
- Insert the install nuts into the rails. Either the bottom of the “T”, or the knurled side must face inwards towards the bed.
- Grab a pair of pillars and one cross bar. Lay them upside down on a towel-covered flat surface. The cross bar fits inside the pillars.
- The inside mounting surface of the L-brackets of the pillars is what sits against the truck's mounting rails (Retrax/Roll-N-Lock applications will utilize the center of the top mounting holes). Measure rail-to-rail distance (or the slot-to-slot spacing in Retrax/Roll-N-Lock applications) and space the pillars as close as you can to that measurement. Place the cross bar in the pillars, centered. This will be important later.
- Install and hand tighten the carriage bolts, washers, and nuts from the assembly hardware package into the SIDE SLOTS of the pillars and cross bars, NOT the top. The bolts will need to be spaced as far apart as possible on both sides and both ends of the assembly. There will be four bolts per pillar-to-cross bar (a total of eight per full cross section assembly). At this point, tighten the hardware to the point of almost no slack, but still able to slide the pieces apart for final fitment.
- Place the first assembly on the truck and square it up to the bed with a tape measure. Tighten pillars to the rail fully (four bolts, 20 ft lbs all applications. Retrax/Roll-N-Lock applications MUST use RED threadlocker).
- Verify pillar flatness across the top, center the cross bar, and tighten the remaining eight bolts.
- Install runners, side bars (if applicable), and molle panels. Each one of those components requires four bolts to secure. Verify alignment by looking through the round chase holes. There should be no overlap.
- Repeat steps 5-10 until the rack is assembled.
- Step back, check for flatness and straightness across all components and fasteners. Adjust as necessary. Retighten all fasteners.
If attaching to vehicle with No-Mod Hardware
- Lay out pieces and hardware. Double check to make sure all parts are accounted for. Assembly and Install hardware will be separately packaged.
- Clear your bedsides of any mounted accessories or tie-downs that may be in the way of the bars or installation hardware.
- Grab a pair of pillars and one cross bar. Lay them upside down on a towel-covered flat surface. The cross bar fits inside the pillars.
- The inside mounting surface of the L-brackets of the pillars is what sits against the truck bed skirts. Measure the inside skirt-to-skirt distance and space the pillars as close as you can to that measurement. Place the cross bar in the pillars, centered. This will be important later.
- Install and hand tighten the carriage bolts, washers, and nuts from the assembly hardware package into the SIDE SLOTS of the pillars and cross bars, NOT the top. The bolts will need to be spaced as far apart as possible on both sides and both ends of the assembly. There will be four bolts per pillar-to-cross bar (a total of eight per full cross section assembly). At this point, tighten the hardware to the point of almost no slack, but still able to slide the pieces apart for final fitment.
- Place the first assembly on the truck and square it up to the bed with a tape measure. The no-mod mounting back plates sit behind the pillar L-bracket and bed skirt. Hand tighten the install hardware. Push the mounting plate all the way up to the underside of the bed side while at the same time pushing the hardware all the way up the bed side skirt edge. Tighten pillars to the bed skirt fully (four bolts, 30 ft lbs). The back plate will deform a little bit.
- Verify pillar flatness across the top, center the cross bar, and tighten the remaining eight bolts.
- Install runners, side bars (if applicable), and molle panels. Each one of those components requires four bolts to secure. Verify alignment by looking through the round chase holes. There should be no overlap.
- Repeat steps 5-10 until the rack is assembled.
- Step back, check for flatness and straightness across all components and fasteners. Adjust as necessary. Retighten all fasteners.
-
- Difficulty: Easy / Beginner
- Tools required: 2-3 Jack Stands or a Transmission Jack, Floor Jack, 3/4" socket and wrench, 10, 12, 14mm sockets, 9/16 wrench, thin screwdriver
- Time for install: 45 to 90 minutesdepending on # of hands working. Two people are better than one. These sliders weigh 75lbs each!
- Recommended Coating: Rustoleum™ paint, Rustoleum™ bedliner-in-a-can, or powder coat.
Your kit will have the following hardware:
- (2) long nut bars
- (2) short nut bars
- (18) 1/2x1.5" grade 8 bolts
- (18) 1/2" grade 8 washers
- (12) 1/2" HMOR custom frame washers
- (12) 1/2" grade 8 Nylock nuts
- (2) 3/8x1.5" grade 8 bolts
- (4) 3/8” grade 8 washers
- (2) 3/8th grade 8 Nylock nuts
- (2) Metric under frame, grade 10.9 bolts
The nut bars and the HMOR washers are powder coated for your convenience!
Though this is a completely no-drill, bolt-on installation, there is an extra hole we put into the bottom of the frame plate to install an extra 1/2” bolt, for a total of (4) bottom mounting bolts. There may be extra hardware left over depending on your year truck.
- Lay out sliders and hardware. Double check to make sure all parts are accounted for.Remember – 1/2” grade 8 washers go outside the frame, the HMOR washers go inside the frame. Go ahead and prep each bolt with a washer.
- Coat the sliders before install! Rustoleum™ paint, Rustoleum™ bedliner-in-a-can, or powder coat are some of your options.
- Remove all bolted tabs, brackets and plastic clips from both sides of the frame. Some may need to be pinched and punched out from the inside of the frame. 2016+ have a wiring harness bracket to remove on the passenger side. You will only need to utilize (1) of the original frame bolts upon install.
- Remove the front inside-frame plastic trim coverings (2016+)
- Unbolt and pull back driver’s side fuel / brake lines.
- Remove the center crossmember metric bolt from the bottom of the frame on both sides. One per side. We included brand new, longer and stronger replacement bolts to install later.
- Make sure you now have a completely flat surface to mount the sliders to, except for the frame rivets. WIPE OFF YOUR MUD!
- Remove the slider shipping brackets from the front of both sliders and recycle.
- Follow the bottom of the frame rearward. Just before it angles up in the back, there may be a manufacturing bump in the frame that might need to be hammered in. Just make sure the frame is flat all the way back and you’re good.
- Take the short nut bar and insert it nut side up into the front crossmember. Rolling up a piece of tape and sticking it to the nut bar will help keep it in place, as that part of the x-member is angled.
- Place the sliders on the jack stands and shuffle everything as close to position as possible. A transmission jack is best as you can lift, rotate, pitch and angle the sliders with adjustment knobs!
- Lift the front of the sliders so that you can carefully thread the first 1/2” bolt into the frame. Grab the long nut bar by the handle and insert (the flat side facing outwards) into the frame where the box begins. Very loosely thread the first couple threads into the front nut, then the second nut. Later when tightened, the bar will form around a contour inside the frame. This can take some finesse.
- Loosely install another 1/2” bolt towards the rear to help support the slider.
- Use a thin screwdriver or equivalent to help align the short nut bar within the crossmember. Loosely thread the bolt in.
- Loosely thread the metric bolt into the bottom of the frame that you removed earlier. The slider needs to align to this bolt for everything to be happy.
- Loosely install a 1/2” bolt everywhere there is a hole one can fit. IMPORTANT – install any bolts backwards as necessary along the fuel / brake lines.
- Begin to tighten the bolts to bring the slider closer to the frame. Go around like you would a wheel – gradually and twice. Use a floor jack to press the bottom of the slider firmly against the frame before fully tightening. Torque the metric bolt to 30 ft lbs, then the x-member bolt.
- Torque all 1/2” bolts to 80 ft lbs.
- Install the 3/8” bolt, washers, and nut in the rearmost bolt hole. This one takes some finesse as well. Make sure the hole is clear and drill to 3/8 if needed. Reach your arm between the fuel tank and the frame. Really reach in there! Small arms help here. Torque this to 30 ft lbs.
- Visually inspect mounting surfaces. Open doors to check for clearance.
- Repeat procedure for 2nd side slider.
- Reinstall all bolted tabs, brackets and plastic clips for both sides of the frame using stock hardware.
- OPTIONAL – Drill both sides the frame on the bottom with a 1/2” drill bit where the slider has the optional hole. Make sure nothing is in the way beforehand. Install and torque to 80 ft lbs.
-
- Difficulty: Easy / Beginner
- Tools required: 9/16” wrench or socket.
- Time for install: 5 to 10 minutes
- Recommended Coating: Rustoleum™ paint, Rustoleum™ bedliner-in-a-can, or powder coat. Some people like the raw look of the bare steel to show ruggedness, or to show off the workmanship of the welds. In that case you can use a clear coat acrylic.
Your kit will have the following hardware:
- Single bar – (4) 3/8” bolts, (4) 3/8” washers, and (4) 3/8” mounting rail nuts
- Pair of bars – (8) 3/8” bolts, (8) 3/8” washers, and (8) 3/8” mounting rail nuts
- 3 bars – (12) 3/8” bolts, (12) 3/8” washers, and (12) 3/8” mounting rail nuts
When you have confirmed all parts are accounted for, proceed to install.
- Lay out bars and hardware. Double check to make sure all parts are accounted for.
- Clear your bed rails of any mounted accessories or tie-downs that may be in the way of the bars or mounting rail nuts.
- Remove all (4) factory rail end caps by pressing on the knurled button and sliding out.
- Insert the mounting rail nuts into the rails. The bottom of the “T” must face inwards towards the bed with a "T-Slot" style nut. The knurled side must face inwards towards the bed with other styles of nuts.
- Gently position bed bars where you want them to stay. If you have optional accessory mounts chosen, make sure the bars are spaced appropriately. Note - These bars are a snug fit. They generally do not “fall” into place. Position one side slightly over the rail, then pop the other side in by tapping the end of the bar.
- Position the mounting rail nuts behind the mounting plates. Sometimes they get caught, so a small screwdriver or pick can help with alignment.
- Thread washer covered bolts into mounting rail nuts.
- Use your 9/16” wrench or socket and tighten snugly. If you notice the factory rail starting to deform, STOP. Do not tighten any further.
- Take a step back and look at your overall setup. Adjust as necessary.
- Now enjoy your new Heavy Metal Bed Bars!
If you have optional accessory mounts chosen, follow these steps.
- Hi-Lift mounting tabs are slotted for adjustability and ease of fitment. 3/8” or 1/2" carriage head bolts work great, as they require only one wrench to tighten. Use a combination of nuts and washers to achieve desired positioning.
- Dog leash mounting tab requires the use of a carabiner clip or equivalent, capable of supporting the weight of the dog. Do NOT use on collars around the neck! Use a body harness.
- LED light tabs are rearward facing. Mount your PODS or other light source upside down to allow the use of a Roof Top Tent without interference.
- Universal mounting plate tabs allow the use of the HMOR mounting plate, or Rotopax™ mounting plate. Uses ¼” hardware.
-
- Difficulty: Easy / Beginner
- Tools required: 9/16” wrench and socket, drill with 3/8" drill bit, T55 Torx bit, 5/8" socket
- Time for install: 60 minutes
Your kit will have the following hardware:
- Pair of stiffeners
- (6) 3/8” bolts
- (12) 3/8” washers
- (6) 3/8” nuts
- (2) 7/16" bolts
- (2) 7/16" washers
When you have confirmed all parts are accounted for, proceed to install.
- Side #1 - Start by removing the (2) stock bolts in the bed, then discard the shorter of the two bolts and the stock tie-down ring.
- Remove the taillight.
- Place the bed stiffener in the orientation you prefer – there is no specified left or right. It is recommended the open sides face rearwards.
- Hand thread in the longer stock bed bolt you kept and the new longer 7/16" bolt provided in the kit, until it is less than hand tight.
- Tilt the stiffener front to back and make sure it is plumb and parallel to the tailgate frame.
- Holding the stiffener in place, use either a transfer punch or a 3/8" drill bit to mark the (3) vertical holes that need to be drilled.
- Remove the stiffener and proceed to carefully drill the holes out using the same 3/8" drill bit.
- Lightly sand / debur the drilled holes and touch up any exposed steel with some black paint.
- Position the stiffener in place and hand thread in all the bolts in the kit.
- FULLY TIGHTEN THE (3) 3/8" BOLTS FIRST, then fully tighten the floor bolts. This ensures that you will draw in the thinner material first and not deform it.
- Repeat for side #2.
installation videos
Stay up to date by subscribing to our Youtube Channel!
view youtube channel